Use case: Survio as an e-learning tool
Would you like to diversify the teaching and learning experience for your students as well as for yourself through e-learning? Are you looking for a simple tool that will make it easier for you to practice the curriculum and test your students or pupils and lets you control everything continuously and effortlessly? Do you need a hand with sending and collecting assignments and want to limit going through stacks of paper and handwritten answers? Just try using Survio as an e-learning tool.
Questionnaires, surveys, quizzes, tests and polls created through the online survey platform Survio will save you a lot of time and effort. Creating questions is very simple and intuitive and offers a variety of options for any subject taught. Share and evaluate tests in just a few clicks. The results are automatically analyzed and stored in a single repository, from which you can easily download them in a variety of formats and everything is done in a neat, design and user-friendly interface.
How to do it? Get inspired and feel free to try it out with us.
![]() WHO IS IS FOR:
WHO IS IS FOR:
– Teachers, professors, lecturers
![]() GOAL:
GOAL:
– Performing tests in electronic form and easily evaluating them (e-learning)
– Organizing interactive competitions, quizzes, surveys, homeworks and exercises
– Students’ feedback for the lessons
– Suggestions for future lessons and topics
– Registration of topics for students’ presentations
– Teacher evaluation
![]() PREREQUISITES:
PREREQUISITES:
– Computer and Internet access on both the teacher and pupil’s / student’s side
![]() WHAT DO I GET:
WHAT DO I GET:
– Quick and effective responses from pupils / students
– Results of the assigned tests, quizzes or individual tasks and homeworks available without previous complicated evaluation processes and in one place, with just a few clicks
![]() TOOL:
TOOL:
– Survio
![]() OUTPUT:
OUTPUT:
– Clear, automatically generated analysis of test, polls and survey results in editable charts
– Automatically calculated results of the assigned tests, polls and surveys
![]() USEFUL FEATURES:
USEFUL FEATURES:
– Email invitations
– Redirect to your own website
– Easy sharing of the collected results with students or colleagues
– Survey logic (skipping questions)
– Export of results to Excel
– Export of results to Google Sheets
CREATE A SURVEY IN AN E-LEARNING TOOL:
- Log in to your Survio account, or create one by signing in at www.survio.com and get plenty of useful features and up to 100 answers from us for free.
- Select Create a survey and start creating your e-learning material. To start with, you can also choose from over 100 professional ready-made templates which you can freely try and edit as you please. Try it all out as much as you like, doing so will certainly not do you any harm.
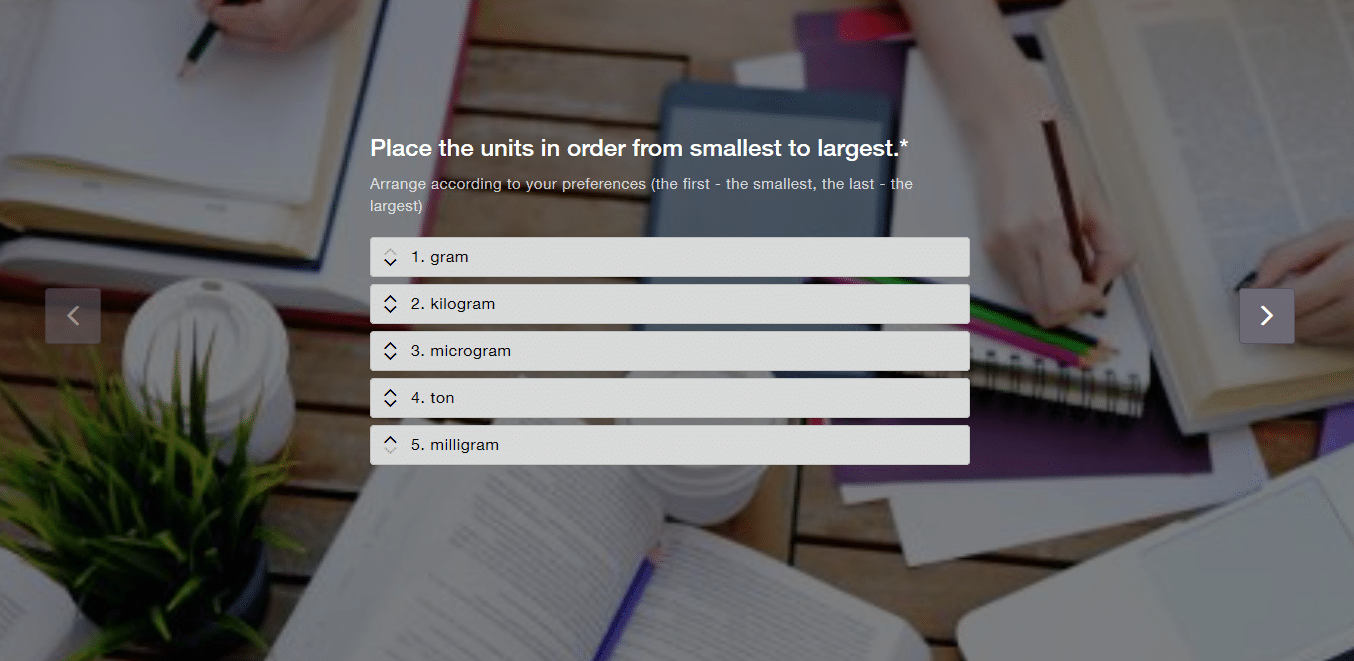
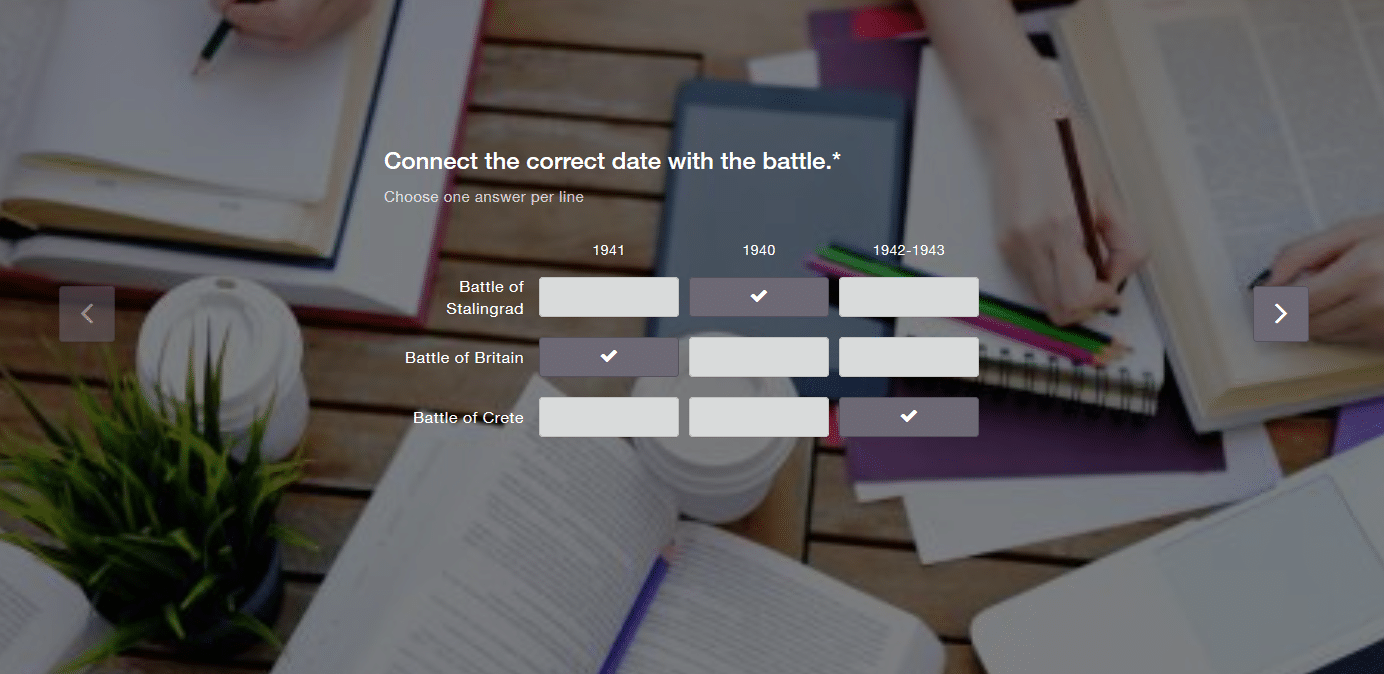
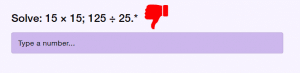
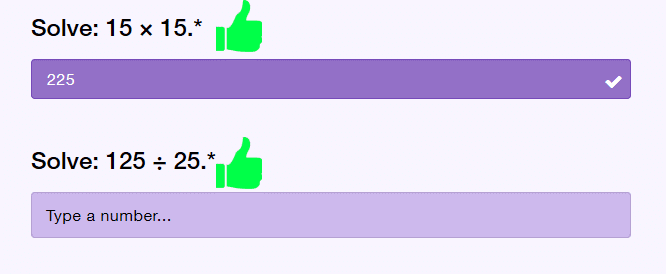
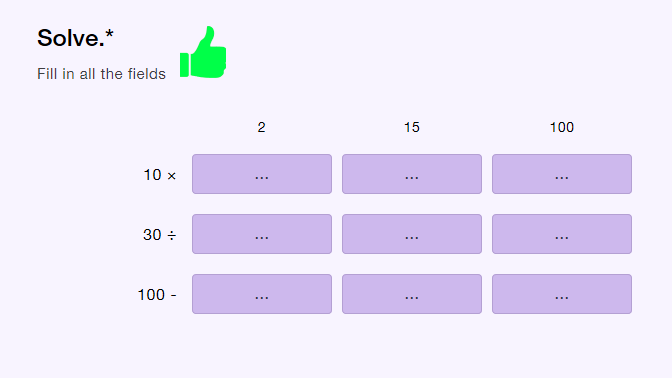
- Don’t be afraid to use different types of questions. The Survio platform offers a wide range of question types that can be easily applied to any subject taught. Open and closed questions, matrices and myriad of other question types are at your disposal. Moreover, each question creates a different type of graph or chart in the final summary analysis, offering space for different points of view. Don’t be afraid to play around with various types of questions and test your students in a playful and interesting way.

- Also, make sure you always know who is completing the test. If you do not use our email invitation tool (see below) thanks to which the respondent can be identified by the email address used, and unless it is an intentionally anonymous questionnaire, quiz, etc., you must create a separate question in which the student fills in their name or identification number.
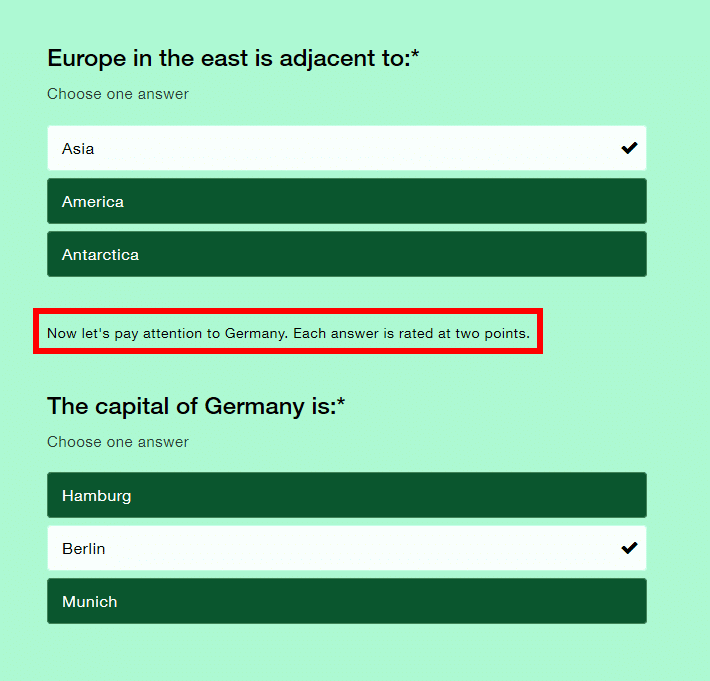
- You can also add a text among the questions that can be used, for example, as a description of the topic or additional info to the next or previous question. It can also indicate how far the students have come in the quiz, or include a hint, inspiration, or a motivational quote.
- In the end, each question will form one column in the chart. However, make sure that it is always clear what the respondents should answer to. One question should not include multiple questions at the same time. Every single question needs its space for the answer so that the results do not get mixed up. The answers will be unambiguous and easier to compare and measure. Alternatively, join multiple questions into a matrix.
- It is also possible to edit the help text of the individual questions. For each question, you can give the students a description of how they should complete it – e.g. How many answers they should choose. These texts are pre-filled in the system to save you the effort, but you can edit them as you like.
- Set up the survey logic for skipping questions. According to the chosen answer, the student can be moved to the relevant follow-up question and the whole test or poll can make much more sense and thus gain a better momentum by its continuity.
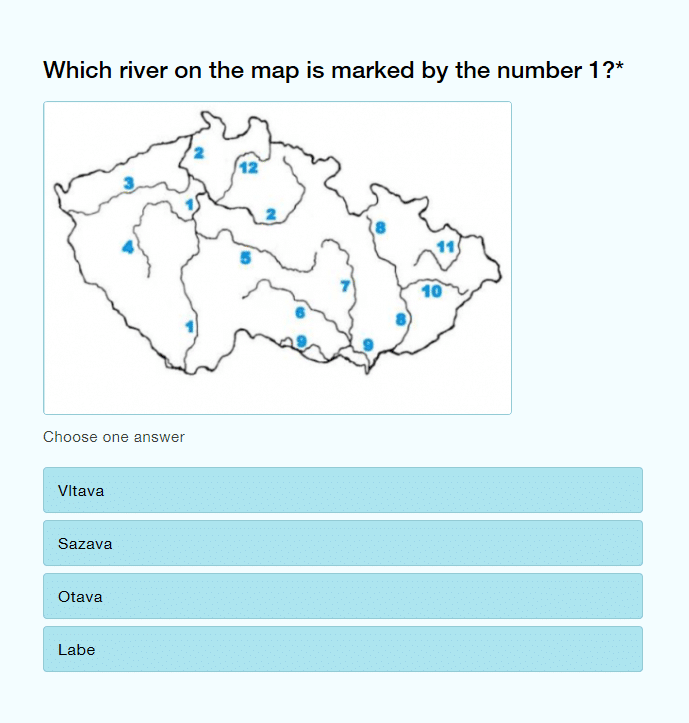
- Multimedia such as pictures, audio or videos can also be added to each question. This can be used e.g. for listening and comprehension, to describe a blank map, as well as as illustration videos, filling in the blanks, or as a variety of tutorials and instructions. Simply copy and paste a link to a video, image, or recording, such as from YouTube or various educational sources.

- Never underestimate the power of the questionnaire’s front page. It is very useful to briefly and clearly share all important information there, including the necessary links or contacts. It’s worth sharing e.g. what the test success rate is, how you will evaluate the responses, how students should be proceeding, or when they will get results.
- After completing the test, do not forget to summarize the necessary information, contacts, or just thank the participants for the responses or their patience in the final page of the questionnaire.
- Instead of the final page, you can also redirect the students to another page, such as other study materials or a page where you will gradually publish test results, either as a share page or through Google Sheets.
- When creating a survey, never forget to check its correct functionality or what it really looks like in the preview. If you wish to test whether everything works well and even collect the trial answers, choose the option of actually filling in the questions through the pop-up window in the preview.
COLLECTING AND EVALUATING OF THE E-LEARNING SURVEY RESPONSES:
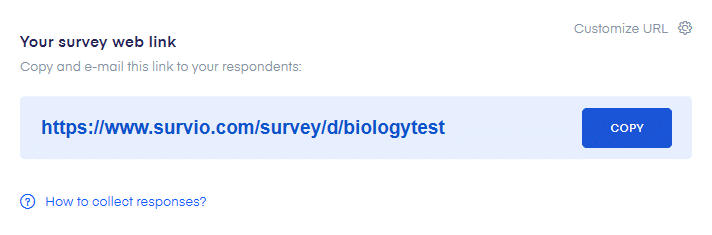
- Once you have completed creating your questionnaire, quiz or test, it’s time to share it. Click the Get Responses tab in the top menu. You can first edit the survey’s web address (URL link). Simply rewrite its name behind the slash in it. Use e.g. the topic of the test or the subject’s name. Everyone will feel more secure about what it is they’re filling in or what you are inviting them to.
- After that, there are several ways in which the questionnaire can be shared. The easiest way to share a questionnaire link is by email. Our email invitations system will make it much easier for you. It is a tool that will help you insert email addresses in bulk. Once that’s done, just edit the text of the message and send your survey or test to the selected recipients with just one click. The advantage of the email invitations is that it is possible to find out who has received the email, who has opened it and who has completed the questionnaire. You can also identify the student by the email address, which is useful for school tests. However, it is also possible to share a link to a survey on social media, for example, if it’s an extra homework or a quiz that can involve parents and friends taking part as well. But consider that this way, everyone gets access to it and anyone can fill it in.
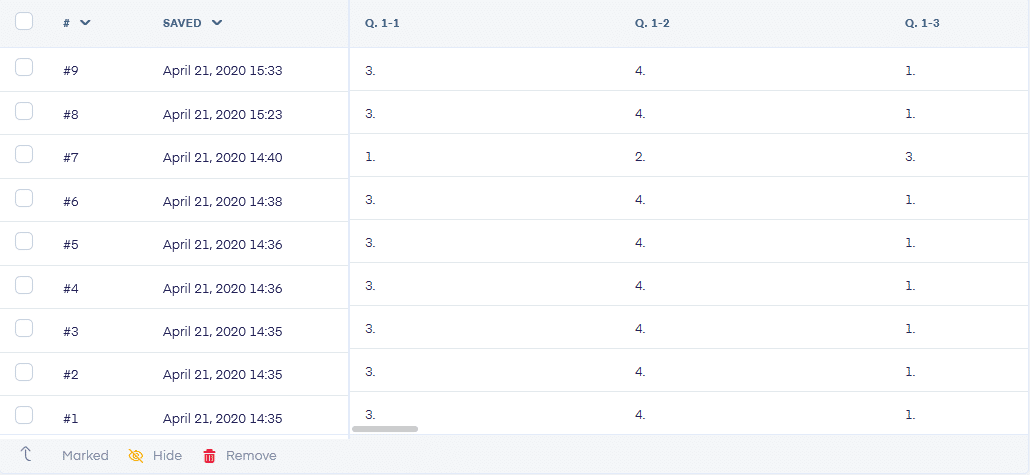
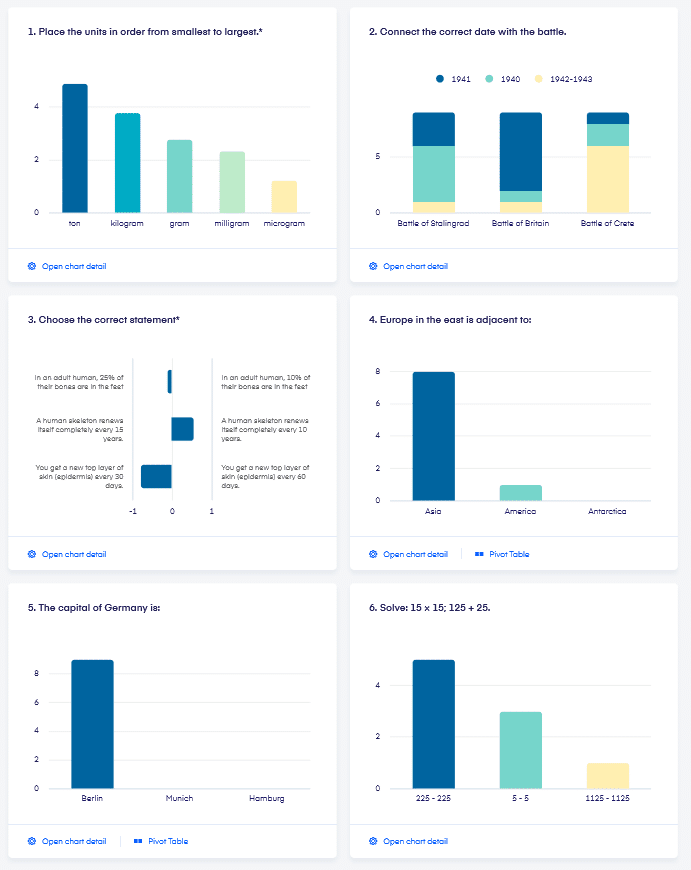
- As soon as the questionnaire collects some responses (students complete it fully and submit it), you will find their analysis in graphs and charts under the Results tab. Everything is clearly and well arranged and you can even change the type of graph or its design. The results can be viewed both in summary, i.e. in comparison to all other results, and individually, i.e. separately for each questionnaire. In the latter, you can see how each individual pupil or student filled in the test and how they answered each question. Each student’s responses are represented by one row in the chart. To open the individual results, use the Individual responses tab in the left menu.
- You can also download the individual test results. It will automatically get arranged into simple and well-arranged charts, to which you can subsequently add your own notes, such as scoring or grades.

OTHER ADVICES AND TIPS:
- In the survey statistics, it is possible to monitor, for example, how long it took people to fill it in.
- Sharing results with other teachers or supervisors in a detailed and visually pleasing form is also very easy. Simply, through the Results section, you can arrange sharing of the results on a public URL and send it to those who should have access to it.
- You can adjust the background colour and design of the entire questionnaire so that it is in perfect harmony with your topic or subject taught. This will make the students more interested and engaged, stimulating a good atmosphere, their imagination, or synchronizing tests that belong together.
- It is also possible to limit the period of time under which the survey will be accessible. After a certain date, the questionnaire simply will no longer be active.
- You can enable or disable multiple submissions of the survey, returning to previous questions, or randomize questions within a survey.
- You can also switch the language of the questionnaire itself to emphasize its authenticity, e.g. in case of language tests. Its buttons or hints will then speak the language of your choice.
- In the advanced settings, you can even activate the option to immediately find out about each and every submitted survey by email. You can either turn on the notifications that will notify you on the completed questionnaire in time, or even see what exactly your students filled in directly in the body of the email. This way you won’t have to log in to Survio every time you want to know who completed the test and how. You can also prevent and respond to misunderstandings, mistakenly submitted forms or other errors on time.
- The entire questionnaire can also be secured by a password. For example, you can ensure that everyone starts to complete the test at the same time by keeping the questionnaire open and ready and getting everyone access to the password at the same time.
As you can see, there are plenty of ways to make the creation and use of e-learning materials easier and more comfortable with Survio. We believe that with our advice and tips, you will be able to create anything you can imagine possible, and that your pupils or students will also appreciate the variety of learning through interactive forms.
Should you have any questions, inspiration, ideas or comments, follow us, ask away and comment on Facebook, Twitter or via e-mail!
Create your own questionnaire or survey for free
Setting up your first survey is quick and straight forward. Choose from one of 100 predefined templates or create your own from the scratch. Start getting your first responses in 5 minutes.
Create your own survey